Homelab is a project to set up a local Kubernetes (k8s) cluster for experimentation and training. Homelab was originally setup on a cluster of four Raspberry Pis. However, any set of clustered micro PCs running an OS compatible with microk8s would be suitable. There is some initial manual setup of the cluster. However, the majority of installation and configuration is intended to be automated - using tools like Ansible.
Building the Cluster
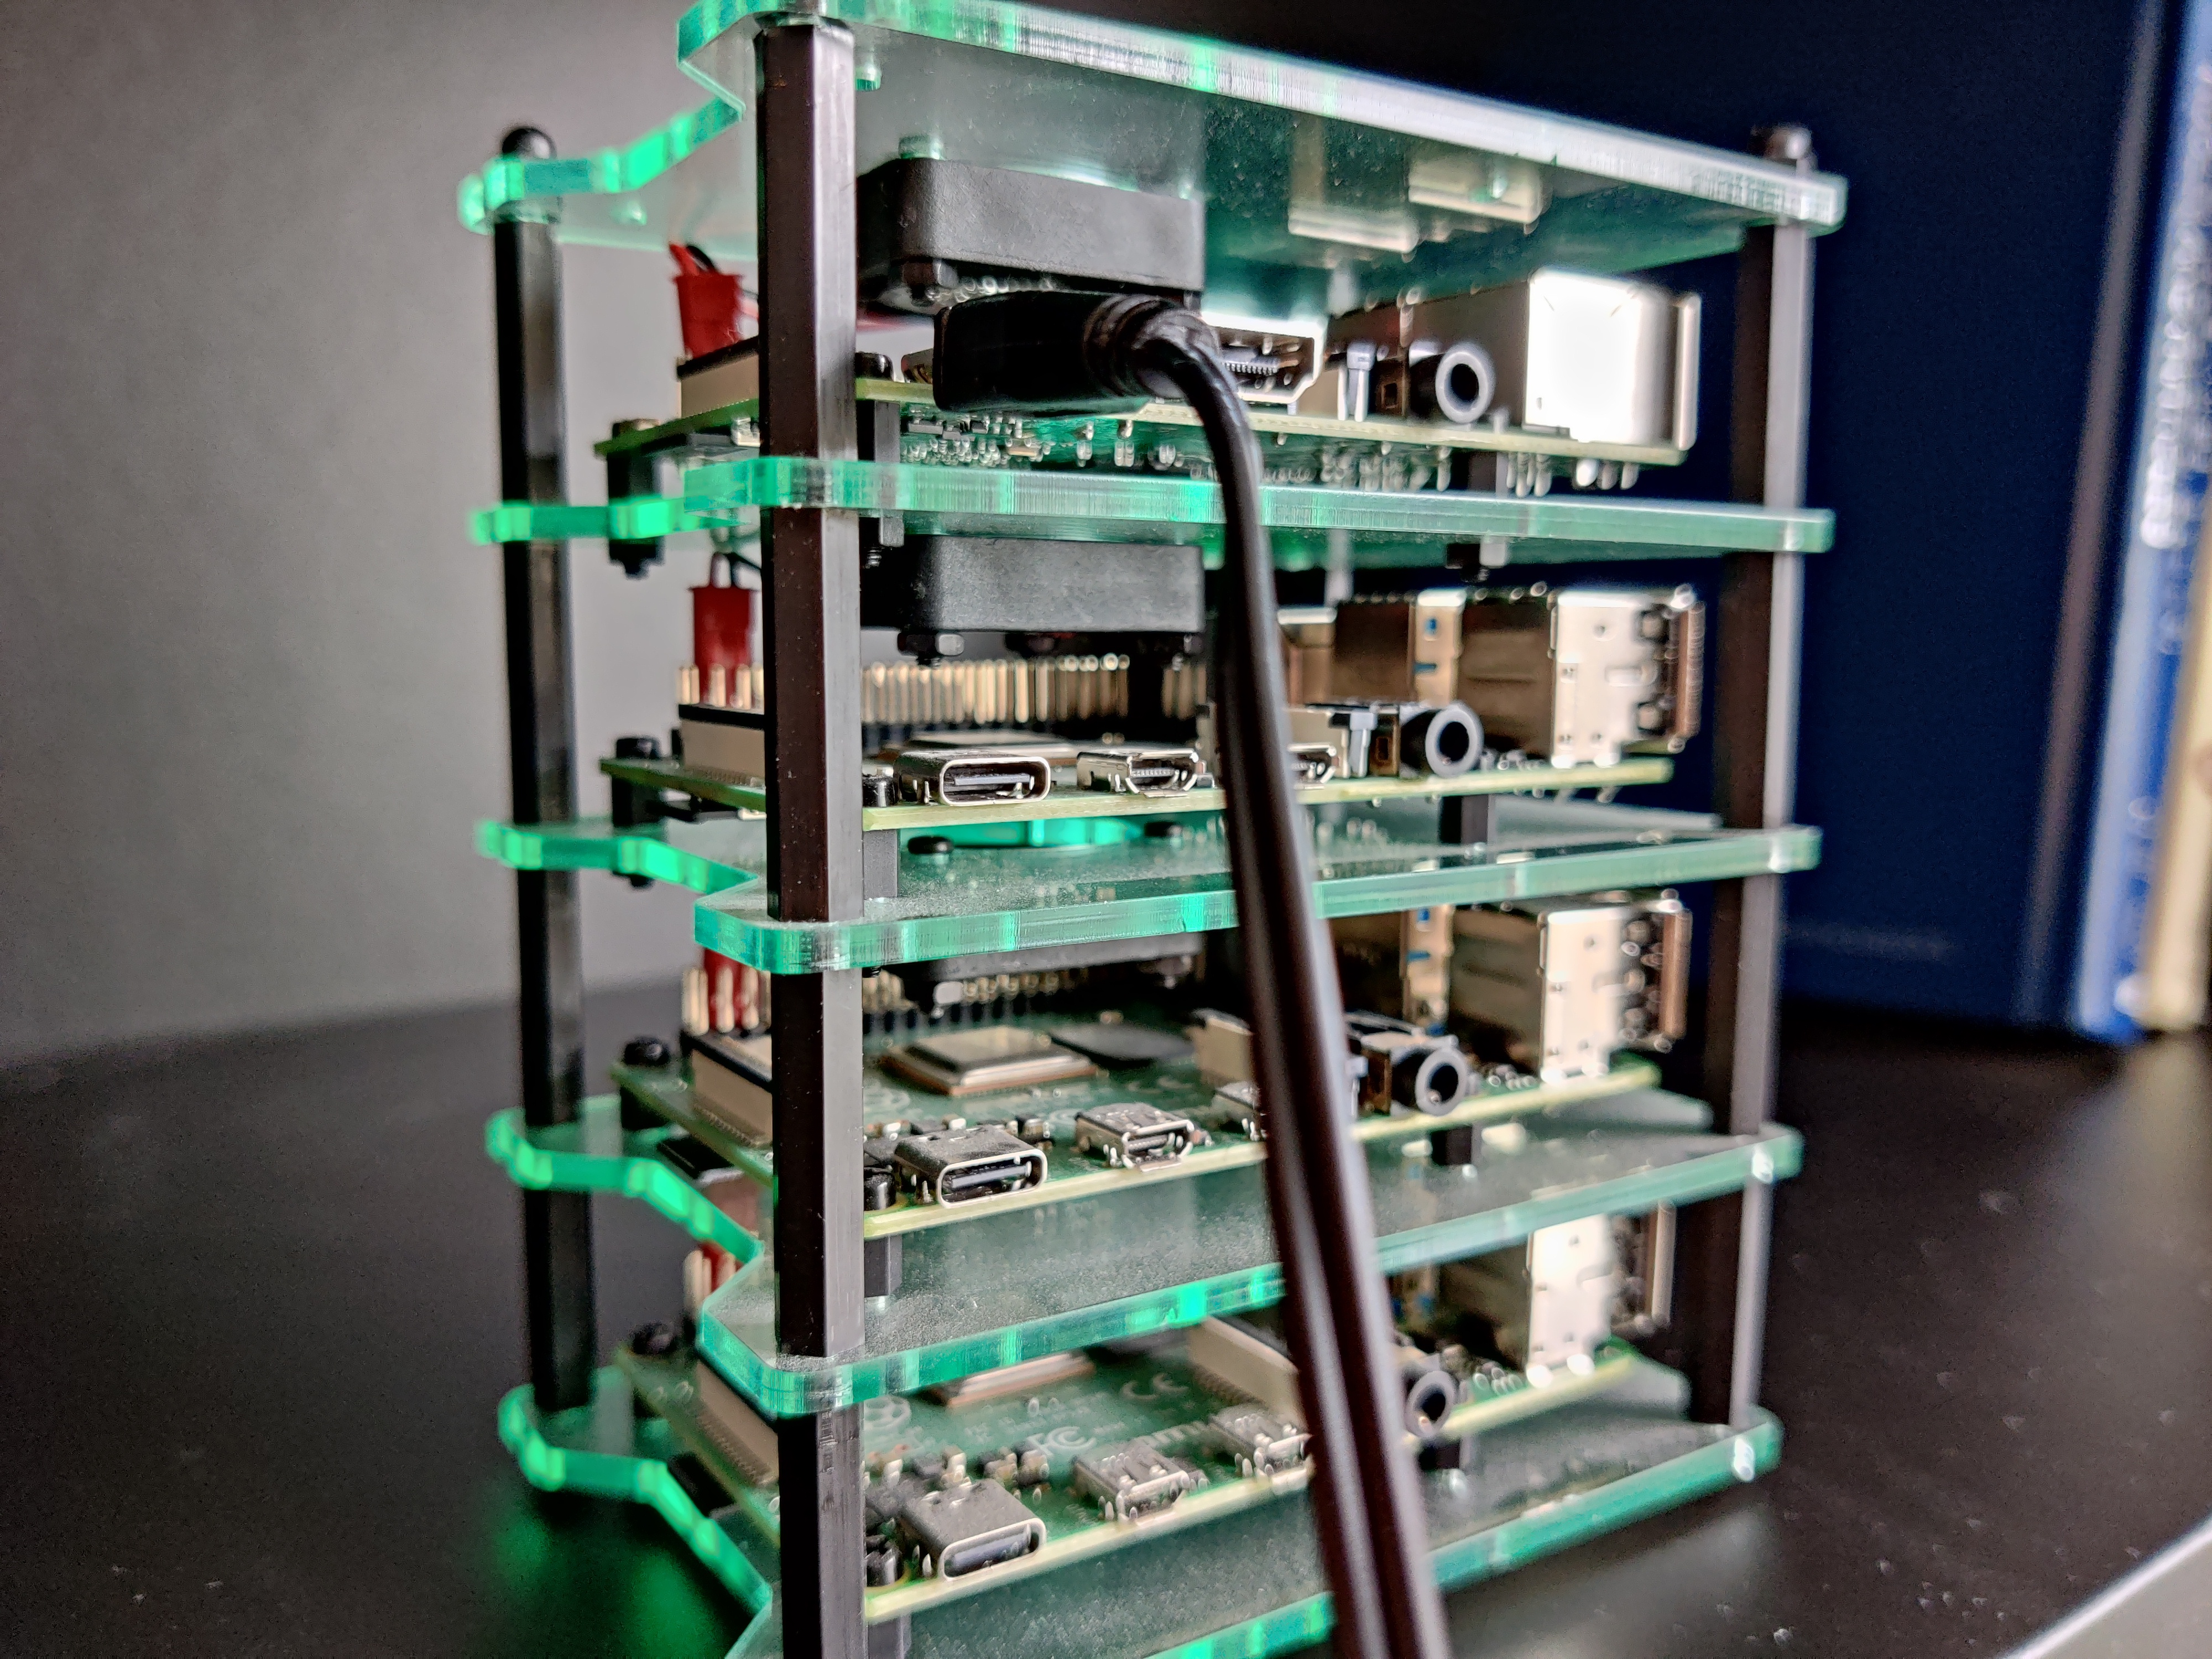
The first step in building Homelab is setting up the physical devices. The image below displays my original Homelab. It consists of one Raspberry Pi 3 and three Raspberry Pi 4s. Select the devices you want to use for your Homelab cluster and mount them in a suitable frame.
The next step will be to install a suitable operating system. In this Homelab cluster, each server is running Ubuntu 22.04.2 built for Raspberry Pi. You can get more information and download image files from Ubuntu for Raspberry Pi. Or if you’re using RPi-imager, the imager will fetch the images as part of the installation.
Once the devices have an OS installed there are a couple of additional manual steps that will make the automated steps easier. Specifically,
- enabling domain resolution for the cluster members,
- setting up passwordless SSH using an SSH key,
- enabling the SSH user as a passwordless sudoer.
Domain Resolution
When managing a set of clusters, it is convenient to be able to address them by fixed names; rather than potentially changing IP addresses. At the same time, setting up static addresses in a router’s DHCP server and hosting a local DNS server or manually adding entries to a /etc/hosts file is too much overhead - for me at least. Luckily, there is a convenient solution to this problem - mDNS. mDNS stands for Multicast Domain Name Service. It is similar to regular DNS - the system that resolves host names to IP address. However, instead of asking a central server to resolve hostnames, mDNS broadcasts a message to all local devices on a network. All devices listening for mDNS broadcasts will check the hostname in an mDNS request and reply with their IP address if that hostname matches their configured hostname.
On Linux systems, Avahi is the service that handles mDNS requests. To setup mDNS, first connect to the device you want to configure (for example, over SSH). Then open the file /etc/avahi/avahi-daemon.conf with your editor of choice. Find the lines host-name and domain-name within server section. Set the host-name to your chosen hostname and domain-name to your chosen domain - ‘local’ is the typical value for domain. An example of the configuration on my Homelab’s k8s control-plane device is:
[server]
host-name=k8s-control-plane
domain-name=local
Then restart the avahi-daemon using the command
sudo service avahi-daemon restart
You should now be able to ssh into your k8s-control-plane device using the command
ssh ubuntu@k8s-control-plane.local
Note: you should do this manually prior to running automated tools like Ansible as SSH will want to verify the authenticity of the remote device. This is typically achieved by a user manually confirming this when SSH’ing into a machine.
Passwordless SSH
To enable passwordless SSH, you’ll need to create a passwordless SSH key; note the SSH
key password may be referred to as a passphrase. If you don’t already have an SSH key
setup on the device that you are going to use to setup your cluster (check the
directory ~/.ssh/), you’ll need to create one. Enter the following command to setup
your SSH key:
ssh-keygen -t ed25519
this will start an interactive prompt where you can accept all of the default options.
Once complete you should have the files ~/.ssh/id_ed25519 and ~/.ssh/id_ed25519.pub.
The id_ed25519 file is the private key in the public-private key-pair. It should
NEVER be copied to another device. The id_ed25519.pub file is the public key.
This is the key that you will copy to your Homelab cluster devices. Specifically, you
want to add this key to the ~/.ssh/authorized_keys file of the device you want to SSH
to. If you have no other keys in that file already, you can just overwrite it with:
scp ~/.ssh/id_ed25519.pub <remote-user>@<remote-host>:~/.ssh/authorized_keys
or as a concrete example to enable passwordless SSH on my Homelab’s k8s control plane device, I used:
scp ~/.ssh/id_ed25519.pub ubuntu@k8s-control-plane.local:~/.ssh/authorized_keys
Passwordless sudoer
Enabling a passwordless sudoer on the Homelab cluster’s devices will allow installation and configuration via Ansible without having to pass a sudoer password. You can enable passwordless sudo with the following steps:
- SSH into the device as the intended sudoer user,
- Run
sudo visudo, - Find the line
%sudo ALL=(ALL:ALL) ALLand change it to%sudo ALL=(ALL:ALL) NOPASSWD: ALL
Setting up microk8s
Now that the Homelab cluster is built, it’s time to install microk8s on all devices. This installation is handled by Ansible - see the repo for the Homelab project.